Star Trek Alliance Campaign Pt3 - Glory to You…And Your House
13th January 2025
Barry
10 mins
We’ve made it to Part 3 of the campaign, and the Alliance is apparently so tight that the rules allows us to use upgrades from other factions. This will really help the Klingons and Romulans with some action economy as they both lack the battle-stations action (the STAW equivalent of Focus in X-Wing). Ando has completely abandoned Klingons so he take up a new shiny Reman Warbird – which I expect will be able to do some heavy lifting.
Despite this I’m staying pure to the Romulan faction for now, though I concede I may need to rejig it at some point in time as without battle-stations it can be a struggle.
This part of the campaign reflects when the Romulans declare war against the Dominion and join the Federation and Klingon Alliance (courtesy of some underhanded tactics from Sisko). But it’s also when the Breen join the Dominion, and their basic ability when attacking is going to make things difficult for us.
Combat Phase – Fire Primary Weapon at the nearest Target. After this attack, the Target must choose one effect: randomly disable one of their upgrade cards, or choose 1 Token (other than Auxiliary token) from beside their ship and remove it.
So in a game with limited action economy this is going to be problematic.
Liberation of Benzar
The objective of this mission is to destroy the Jem’Hadar battleship and have at least one player survive until round 10 – which sounds simple however it has 2 shields per player (for a total of 10 shields) and it adds an evade result for each Orbital Platform that remains in play. So, to help us kill the Battleship we need to prioritise destroying the platforms. We also receive an additional XP for destroying a Jem’Hadar attack ship for each player – so we can’t exactly just ignore them either though they aren’t the priority.
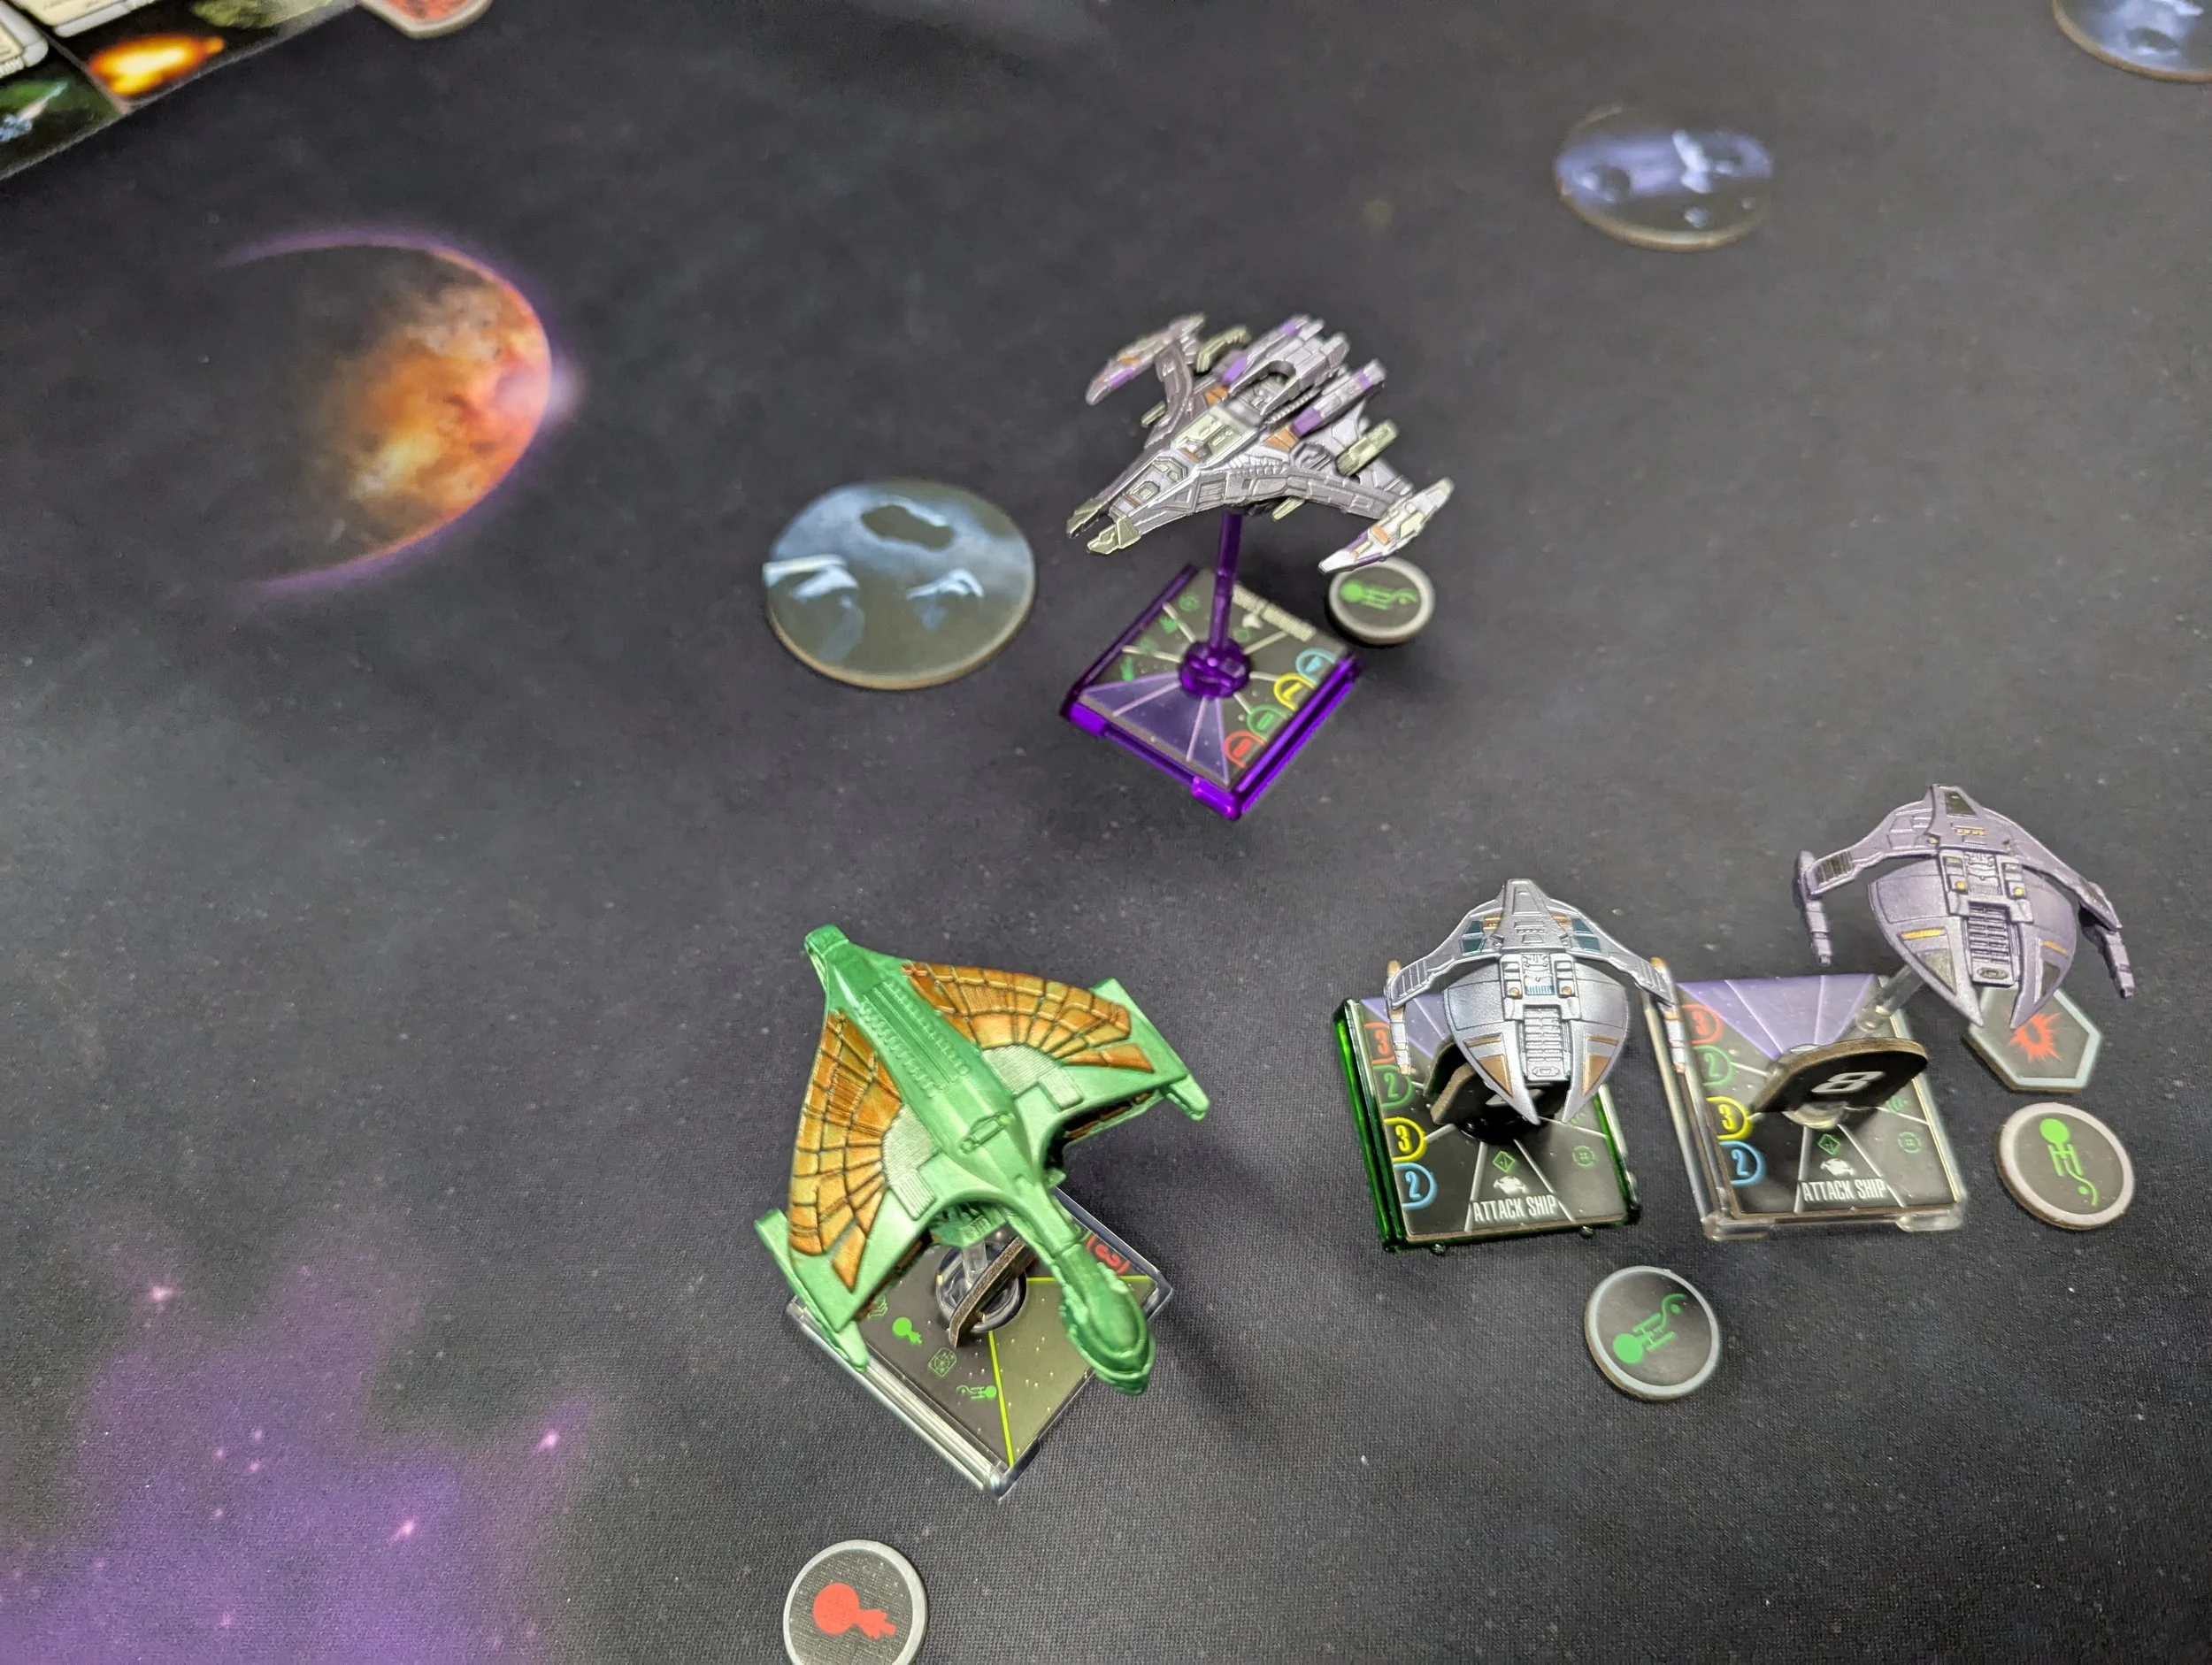
For the first round Ando and I deployed to take out one of the platforms whilst the others go for the other and the two fighters. The Battleship banks towards us as do the three fighters, Ando and I cloak, destroy the station and reduce a fighter down to one health from long range. The enemy attempt to shoot back for nil effect.
Meanwhile, Jim, Alex and Bone approach the other station though are well out of range so Jim just one shots the two fighters in front of them off the table leaving just one to tell the tale.
Next round there’s some debate as to what Ando and I should do as we have three attack ships and the battleship to contend with. My gut says that I should reverse behind the obstacle, though that would mean no action like cloak which will be necessary to deal with any shots coming in. I’m convinced by the group to four straight as Jim states the odds that it turns into me are 1/6.
Never tell me the odds.
Of course I’m right in front of it at close range, fortunately the other ships are off target as the wing-leader has a warp core breach to contend with from my round 1 attack. Ando manages to get another of the attack ships down to 1 while I manage to kill another. Similarly on the other side of the table, the team have destroyed a ship and damaged another – but they haven’t destroyed the station making killing the battleship a tough ask.
At close range it rolls 7 dice at me and manages to score two crits which go straight into my hull that I have to repair if I’m to stay on the table.
Round three and the rest of the team successfully destroy the last station which means we can really start wailing on the Battleship.
I have an turret shot on the battleship and Ando has a shot on it but it’s nowhere near enough to kill it. In turn it strips all of Ando’s shields with its primary shot and takes a shield off me with a secondary shot.
Then two Dominion reinforcements arrive next to the rest of the team complicating their manoeuvres.
Round four and Ando has managed to keep the Battleship in arc while I scan to assist with destroying the last attack ship on our side of the board. The others are trying to destroy the reinforcements however their efficiency is diminished as they’re now made for jousting and not for out of arc fighting. Luckily for them the enemy can’t shoot worth a damn and they escape any significant consequences.
The next round Ando continues to harass the Battleship, and I manage to sink 6 hits into it leaving it on just one health making it easy pickings for the two Federation players who have left Bone to contend with the Dominion attack ships. He destroys the lone one however takes some hits from the other two.
Round six and with the Battleship destroyed the enemy are trying to retreat. Ando and I are trying to position to cut them off though it’s unlikely we’ll both get there. That leaves Bone to deal with them alone though he can only manage a Barry-Roll resulting in no glory for him or his House.
Alex manages to destroy one of the fighters close to escaping, while the other strip Bone of his shields.
Last round and Ando does actually manage to close the gap enough to overwhelm the defences of the last Dominion ship, which has cleared the board of the enemy. The planet is saved.
Tears of the Prophets
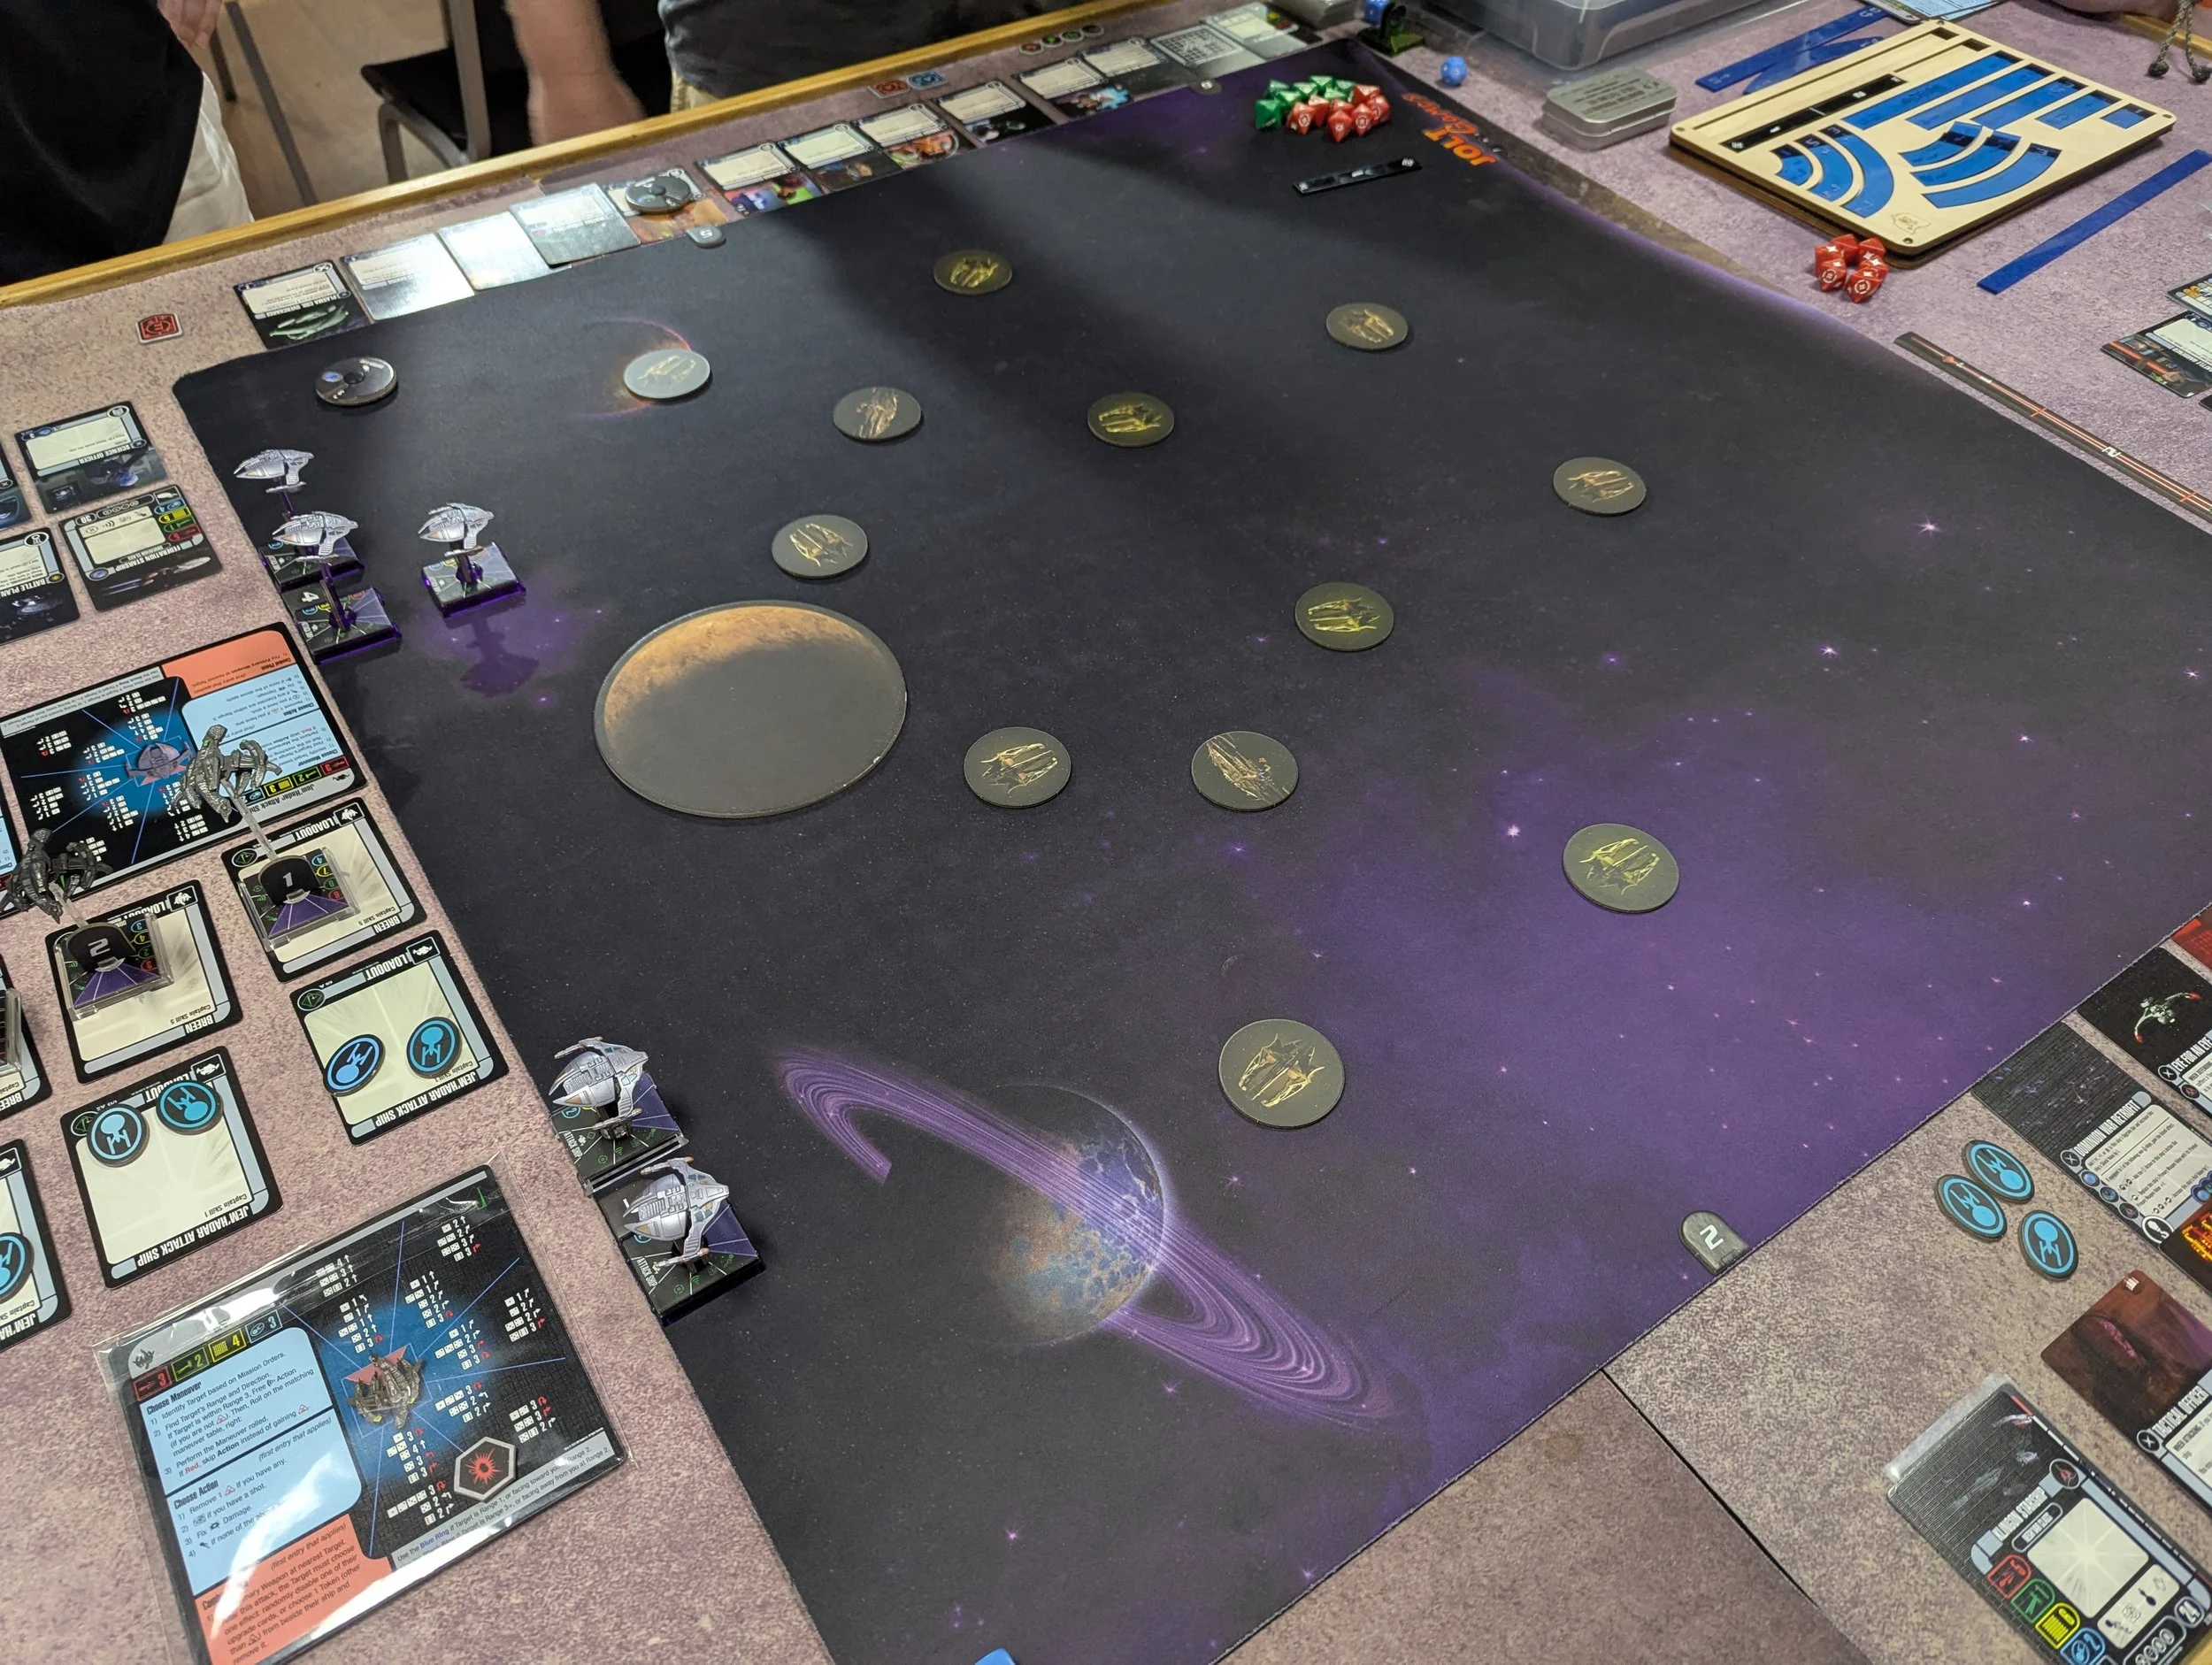
This map is congested to say the least. We must destroy the ten Weapon Platforms and the two Control Platforms. The Weapons Platforms only have 3 attack dice but there’s enough of them to overwhelm defences, and in combination with the Control Platforms they get to convert a battle station result to a hit result. Combine that with the fighters on the table and we do have a bit of a problem.
For this mission Alex and I pair off down the left flank to take on the platforms, Bone is going down the centre whilst Ando and Jim go down the right.
In the first round we manage to remove half the Weapons Platforms and get half damage on one of the Control Platforms. In exchange Ando is the only one who finds himself in range of a platform but he evades it handily whilst he’s cloaked.
Round two and the Attack Ships in front of us peel off to the centre of the board, I target lock one and destroy it with a torpedo to reduce the incoming fire for Alex while he and Bone team up to destroy a Control Platform. Jim destroys the second Control Platform giving us an XP and reducing the effectiveness of the other platforms fire.
Which doesn’t seem to matter because one still manages to hit me for three damage. Similarly Ando weathers EVERYTHING (emphasis is his) from the other stations and now the Breen have entered the game.
Round three starts with Alex and I destroying two more Weapons Platforms. Bone tries to shoot through the fighters but doesn’t have strong dice and needs Jim’s help to kill a Jem’Hadar Attack Ship.
Ando finds himself at medium range of two Breen fighters and manages to reduce one down to half health.
Then the Breen start shooting up Ando and despite being tokened up with cloak, battle stations and evade tokens he either spends to avoid damage or loses them to their ability as well as being forced to disable an upgrade on his ship.
Separately Jim loses five of his seven shields and Bone escapes losing just one. The reality of dealing with the Breen is becoming more apparenty.
As a side note, Bone argues about rolling on behalf of the AI when it’s attacking you as we sought to speed up the game. I noted that the game can be played solo and asked what he would propose to do instead of rolling. He attempts to ask Siri if the enemy hits him – to which Siri attempts to contact emergency services.
Again no honour to him… or his House.
Round four opens for us with Jim destroying the last platform to complete the objective, so we now need to survive long enough to escape – an interesting proposition with the Breen chasing us. Alex sinks some hits into one of them to remove its shields but Jim absorbs more hits and ends up being reduced to 3 hull and has two upgrades disabled.
I manage to reap the benefit of flying with Alex and recover a shield which is a new experience.
So, we start Round Five with Jim hauling ass to escape as Alex and I move in to take on the Breen ourselves. I destroy a Breen fighter, while Jim and Alex destroy a Jem’Hadar ship that was threatening Bone’s flank. That leaves him and Ando to take out the lone Breen in front blocking their escape path who is overwhelmed by their firepower, however, two elite Breen join the fight right in our planned path.
Round six continues much the same the way with Jim trying to get out of range of any enemy shots and escape while the rest of us are forced to push through the Breen. I destroy the last standard Breen ships while Alex and Jim try to take out the Elites, but the Breen evade the attack dice. Bone however manages to drop the shields on one of them and Ando manages a roll of four crits and two hits finishing it off.
The now last Breen ship struggles to deal any damage to Ando though does strip his tokens again in the process.
The next round Jim, Ando and Bone are attempting to evade the last fighters and get off the board leaving Alex and I to take on the last of the enemy. I manage to get five hits into the Elite while Alex manages to finish him off clearing our escape.
The eighth and final round the others escape while one of the fighters closes in on us however Alex manages to destroy it and provide me another shield so I finally finish the game on full health.
Debrief
This entry into he campaign is a series of highs and lows – even the standard Breen manage to evoke anxiety in small numbers, combined with other ships, objective requirements and effects they represent a genuine threat to our progress. Considering we’re close to maxing out our stat lines, it’s likely we need to completely revise our builds to make them more resistant to their effects.
Cheers,
- Barry


